
How to save the last 30 seconds of gameplay on Windows, with one key
Most recorders only save what happens after you press record. A replay buffer keeps the moments you did not expect, so you can save them after they happen.
 LAAGU··2 min readTimeline
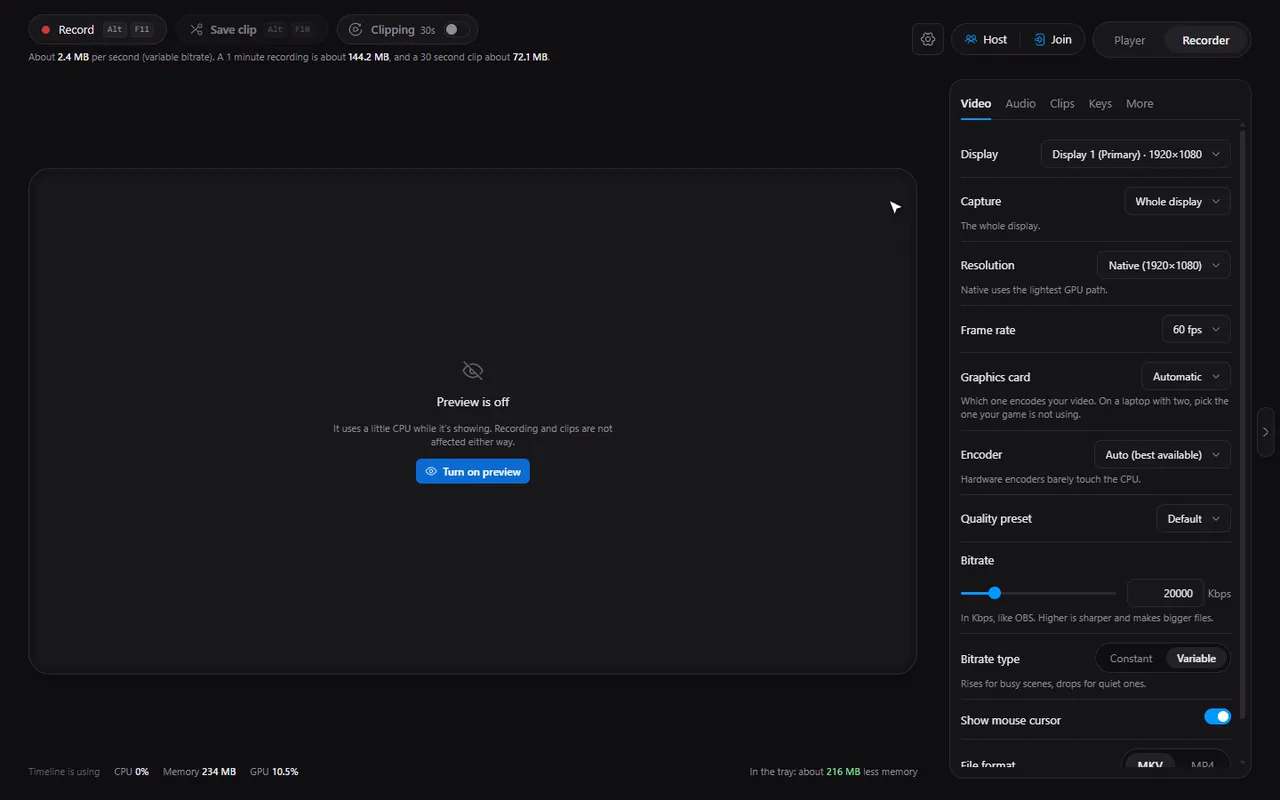
How clipping works
Normal recording starts when you press a button. Clipping works the other way round: Timeline keeps the last few minutes ready on your disk, all the time, and when you press the clip key it saves that stretch straight away. This is often called a replay buffer or instant replay.
The buffer is stored on disk in short pieces, so it uses almost no memory. Clips are saved instantly, without re-encoding, so the file is ready the moment you press the key.
Turn it on
- Open Timeline and switch to the Recorder tab.
- Turn on the Clip buffer switch next to the Save clip button. The buffer starts filling, and the bar under Save clip shows how full it is.
- Optional: in Settings, General, turn on Auto start Timeline and in the Recorder's More tab Start clipping when Timeline starts, so you always have the last seconds ready.
Choose how long a clip is
In the Recorder's Clips tab, pick the Clip length: 15 seconds, 30 seconds, 1 minute, 2 minutes or 5 minutes. For something in between, use the Custom length slider, from 5 seconds up to 10 minutes. Under the slider Timeline tells you roughly how big a clip will be at your current quality.
Try it in Timeline
Free for Windows 10 and 11. One installer, nothing else to set up.
A longer buffer costs more disk space while it runs, not memory. The Recorder shows how much room clips and recordings will take.
Save a clip
Press AltF10. You hear a short sound and a small pop-up appears with Open clip and Show in folder. That is all: no editing step, and no recording had to be running.
- Change the key in the Recorder's Keys tab. If another program has already taken it, see fixing a hotkey conflict.
- Clips go in the folder set under Save clips to in the More tab.
- Open a clip in the player and trim it, or upload and share the link.
Clipping and recording at the same time
They are independent. You can record a whole session with AltF11 (stop with AltF12) and still press AltF10 to cut out the highlights as they happen.
Tip. Close the window while you play. Timeline keeps clipping from the system tray and frees the window's memory.
Note. If you press the clip key while the buffer is off, Timeline shows a "Clip buffer is off" notice instead of saving anything.
Questions
Does clipping slow my game down?
Timeline encodes on your graphics card where it can, which keeps the processor free. How much it affects a particular game depends on your PC, so try it in the game you care about.
Where are clips saved?
In the folder set as Save clips to in the Recorder's More tab. The pop-up's Show in folder button opens it.
How long can a clip be?
From 5 seconds to 10 minutes. The presets are 15 seconds, 30 seconds, 1 minute, 2 minutes and 5 minutes.
Do I have to be recording to save a clip?
No. Only the Clip buffer switch has to be on.